MCP協議實戰指南:從架構解析到生產級Server開發
MCP協議實戰指南:從架構解析到生產級Server開發
想給你的AI Agent裝上“萬能插頭”?還在為每個工具單獨寫集成代碼?
MCP(Model Context Protocol)就是答案。 這個由Anthropic提出、正在成為行業標準的協議,正在徹底改變AI Agent與外部工具的交互方式。今天,我們不談虛的,直接上手拆解MCP的四層架構,手把手帶你開發一個能直接用的MCP Server。
一、MCP四層架構:為什么它比Function Calling強?
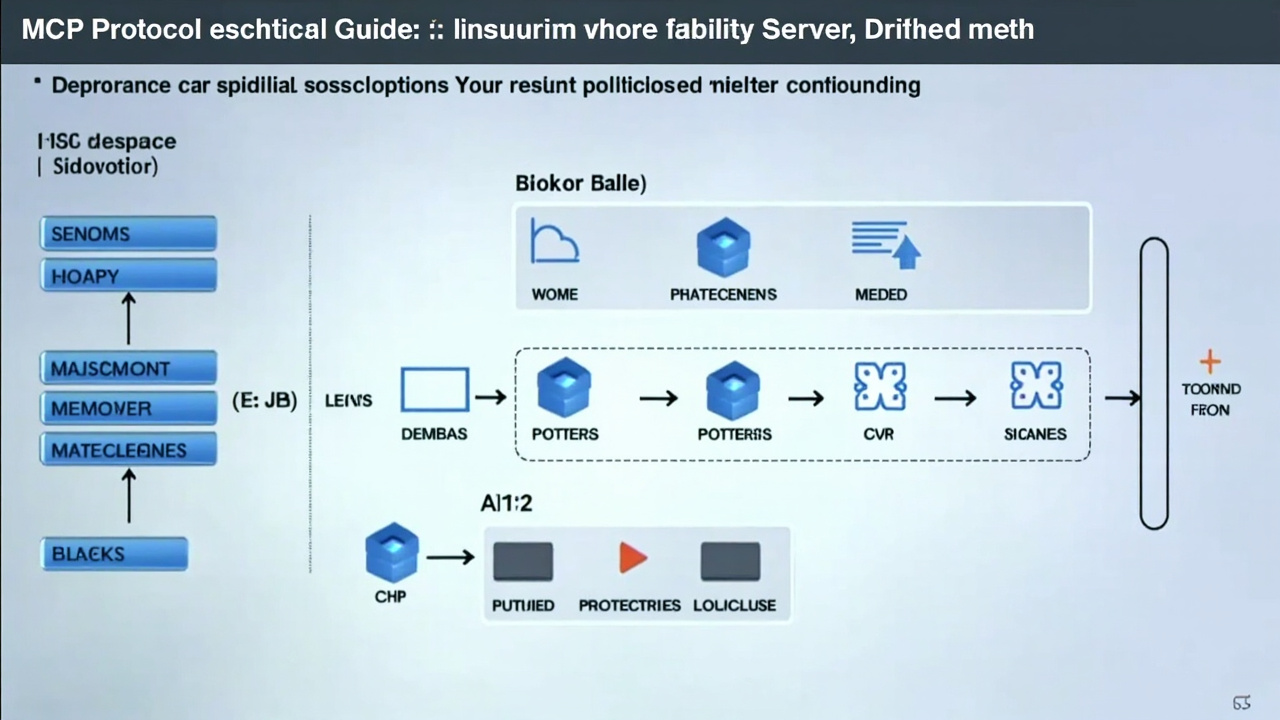
傳統AI工具集成就像“一對一適配器”——每接一個新工具,就得寫一套專屬代碼。MCP把這套邏輯標準化了,核心是四層架構:
1. 傳輸層(Transport)
負責底層通信。支持兩種模式:
- stdio:適合本地進程通信,延遲最低
- HTTP + SSE(Server-Sent Events):適合遠程服務,支持流式響應
2. 協議層(Protocol)
基于 JSON-RPC 2.0,所有消息都是標準JSON格式。關鍵點:
- 請求必須有
jsonrpc: "2.0"、id、method、params - 響應必須有
jsonrpc: "2.0"、id、result或error - 通知(notification)沒有
id,不需要回復
3. 能力層(Capabilities)
Server聲明自己能做什么:
{
  "capabilities": {
    "tools": {"listChanged": true},
    "resources": {"subscribe": true},
    "prompts": {"listChanged": true}
  }
}
4. 應用層(Application)
具體實現:工具函數、資源讀取、提示詞模板等。
對比Function Calling:MCP是標準化協議,一次開發,所有支持MCP的AI模型(Claude、GPT、本地模型)都能調用你的工具。而Function Calling是模型私有實現,換模型就得重寫。
二、通信機制:JSON-RPC 2.0實戰拆解
MCP所有交互都基于JSON-RPC 2.0,我們看一個完整流程:
1. 初始化握手
Client發送:
{
  "jsonrpc": "2.0",
  "id": 1,
  "method": "initialize",
  "params": {
    "protocolVersion": "2024-11-05",
    "capabilities": {},
    "clientInfo": {"name": "test-client", "version": "1.0"}
  }
}
Server響應:
{
  "jsonrpc": "2.0",
  "id": 1,
  "result": {
    "protocolVersion": "2024-11-05",
    "capabilities": {
      "tools": {"listChanged": true}
    },
    "serverInfo": {"name": "my-server", "version": "1.0"}
  }
}
2. 工具發現
Client獲取可用工具列表:
{"jsonrpc": "2.0", "id": 2, "method": "tools/list"}Server返回工具定義:
{
  "jsonrpc": "2.0",
  "id": 2,
  "result": {
    "tools": [{
      "name": "get_weather",
      "description": "獲取指定城市天氣",
      "inputSchema": {
        "type": "object",
        "properties": {
          "city": {"type": "string", "description": "城市名稱"}
        },
        "required": ["city"]
      }
    }]
  }
}
3. 工具調用
Client執行工具:
{
  "jsonrpc": "2.0",
  "id": 3,
  "method": "tools/call",
  "params": {
    "name": "get_weather",
    "arguments": {"city": "北京"}
  }
}關鍵細節:
- 每個請求有唯一
id,響應回復相同id - 通知(如
notifications/initialized)沒有id,不需要回復 - 錯誤響應包含
error.code和error.message
三、生產級MCP Server開發:天氣查詢服務
我們用Python開發一個真實的天氣查詢MCP Server,支持stdio和HTTP兩種傳輸方式。
項目結構:
weather-mcp-server/
├── server.py          # 主服務
├── weather_api.py     # 天氣API封裝
├── requirements.txt
└── README.md
1. 安裝依賴
pip install mcp fastapi uvicorn httpx2. 核心實現(server.py)
from mcp.server import Server
from mcp.server.stdio import stdio_server
from mcp.types import Tool, TextContent
import httpx
import json
# 初始化MCP Server
server = Server("weather-server")
@server.list_tools()
async def list_tools():
"""聲明可用工具"""
return [
Tool(
name="get_weather",
description="獲取中國城市實時天氣(使用和風天氣API)",
inputSchema={
"type": "object",
"properties": {
"city": {
"type": "string",
"description": "城市名稱,如:北京、上海"
}
},
"required": ["city"]
}
)
]
@server.call_tool()
async def call_tool(name: str, arguments: dict):
"""執行工具調用"""
if name == "get_weather":
city = arguments.get("city")
# 調用真實天氣API
weather_data = await fetch_weather(city)
return [TextContent(type="text", text=weather_data)]
raise ValueError(f"未知工具: {name}")
async def fetch_weather(city: str) -> str:
"""調用和風天氣API(示例)"""
# 實際開發中替換為真實API密鑰
api_key = "your_api_key_here"
base_url = "https://devapi.qweather.com/v7/weather/now"
# 城市名轉LocationID(簡化處理)
location_map = {"北京": "101010100", "上海": "101020100"}
location = location_map.get(city, "101010100")
async with httpx.AsyncClient() as client:
response = await client.get(
f"{base_url}?location={location}&key={api_key}"
)
data = response.json()
if data.get("code") == "200":
now = data["now"]
return f"""城市: {city}
天氣: {now['text']}
溫度: {now['temp']}°C
體感溫度: {now['feelsLike']}°C
濕度: {now['humidity']}%
風向: {now['windDir']}
更新時間: {now['obsTime']}"""
else:
return f"獲取天氣失敗: {data.get('code')}"
# 啟動stdio模式
if __name__ == "__main__":
import asyncio
asyncio.run(stdio_server(server))3. 支持HTTP+SSE傳輸
# 添加HTTP支持(在server.py中)
from fastapi import FastAPI
from sse_starlette.sse import EventSourceResponse
import json

app = FastAPI()

@app.post("/mcp")
async def handle_mcp_request(request: dict):
    """處理MCP over HTTP請求"""
    method = request.get("method")
    params = request.get("params", {})

    if method == "initialize":
        return {
            "jsonrpc": "2.0",
            "id": request["id"],
            "result": {
                "protocolVersion": "2024-11-05",
                "capabilities": {"tools": {"listChanged": True}},
                "serverInfo": {"name": "weather-server", "version": "1.0"}
            }
        }
    # ... 其他方法處理

@app.get("/mcp/sse")
async def sse_endpoint():
    """SSE流式端點"""
    async def event_generator():
        # 發送服務器事件
        yield {"data": json.dumps({"type": "connected"})}

    return EventSourceResponse(event_generator())
4. 部署與測試
# 1. 啟動stdio模式(供Claude Desktop等客戶端)
python server.py

# 2. 啟動HTTP模式
uvicorn server:app --host 0.0.0.0 --port 8000

# 3. 測試工具調用
curl -X POST http://localhost:8000/mcp \
  -H "Content-Type: application/json" \
  -d '{
    "jsonrpc": "2.0",
    "id": 1,
    "method": "tools/call",
    "params": {
      "name": "get_weather",
      "arguments": {"city": "北京"}
    }
  }'
四、MCP在AI Agent生態中的真實價值
1. 工具市場標準化
想象一個“AI工具商店”:開發者上傳MCP Server,用戶像安裝瀏覽器插件一樣安裝工具。www.nhjb.com.cn(www.nhjb.com.cn)的Agent生態正在朝這個方向發展。
2. 自動化賺錢案例
某跨境電商團隊用MCP搭建了自動化流水線:
- MCP Server 1:監控1688新品(每10分鐘掃描)
- MCP Server 2:自動生成多語言商品描述
- MCP Server 3:同步到Shopify店鋪
- 結果:人力成本降低70%,上新速度提升5倍,月均新增SKU 3000+
3. 開發效率提升
傳統集成一個新工具需要:閱讀文檔→寫適配代碼→測試→部署(平均2-4小時)。
用MCP:找到現成MCP Server→配置連接→直接使用(平均5分鐘)。
五、下一步行動:三步上手MCP
1. 本地測試(5分鐘)
- 安裝Claude Desktop
- 在配置文件中添加我們的天氣Server
- 直接問Claude:“北京今天天氣怎么樣?”
2. 開發你的第一個MCP Server(1小時)
- 克隆我們的示例代碼
- 修改
fetch_weather函數,接入你常用的API(股票、新聞、內部系統) - 用stdio模式測試通過
3. 加入生態(長期)
- 將你的MCP Server開源到GitHub
- 提交到MCP工具目錄(如www.nhjb.com.cn的Agent市場)
- 關注A2A協議發展,實現Server間互操作
關鍵資源:
- MCP官方文檔:https://modelcontextprotocol.io
- Python SDK:https://github.com/modelcontextprotocol/python-sdk
- 現成MCP Server列表:https://github.com/modelcontextprotocol/servers
MCP不是銀彈,但它是目前最接近“AI工具USB標準”的協議。現在開始開發,你的工具就能被所有支持MCP的AI模型調用——這才是真正的杠桿效應。